|
|
 |
| |
The Board
The first issue to address is WALLS. I did quite a bit of internet surfing to get ideas and concepts for a homebrew board, and I came to the conclusion that I want to stick with no walls. While they do add to the aesthetics, I believe their impedement of functionality outweighs their coolness factor. Also, I can always decide to make wall pieces in the future as an addition.
I will try to show my step by step process as it happens, and I will include pictures of each step. The goal of this project is to create a cost-effective homemade board that is functional, somewhat 3-D, and adds to the overall experience of the best board game ever. I will include costs that I paid for materials, all in Canadian Dollars.
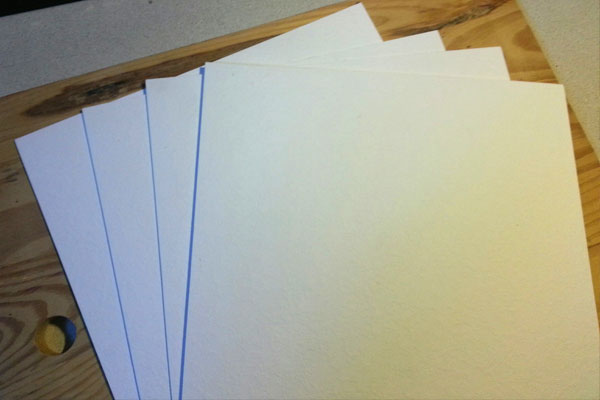
I started by making the tiles. I found some textured and non-textured card stock that I happened to have on hand. I don't know the cost of this stuff, but I can't imagine it to be too expensive, and I'm sure there are alternatives that could be used for tiles. Any thin, flat cardboard, even cereal box card, would likely work (you can add the texture yourself!).
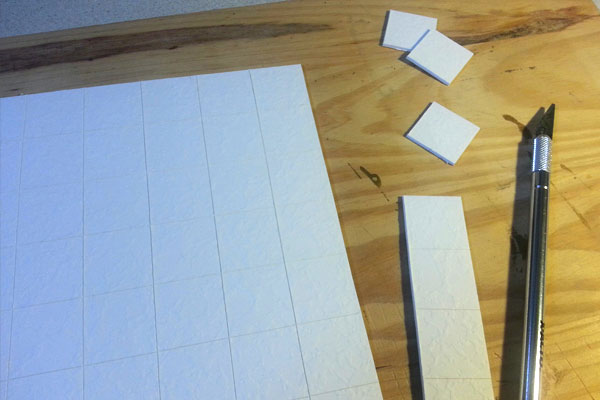
Which I then cut into 1" by 1" tiles. I cut them by hand with an xacto knife rather than using a cutting tool because I wanted to keep an imperfect feel to the board, as opposed to a whole board with every tile exactly square and identical. You have to figure most of the dungeons were built by lowly Orc and Goblin grunts, or maybe undead slaves, meaning they probably wouldn't be the best craftsmen!
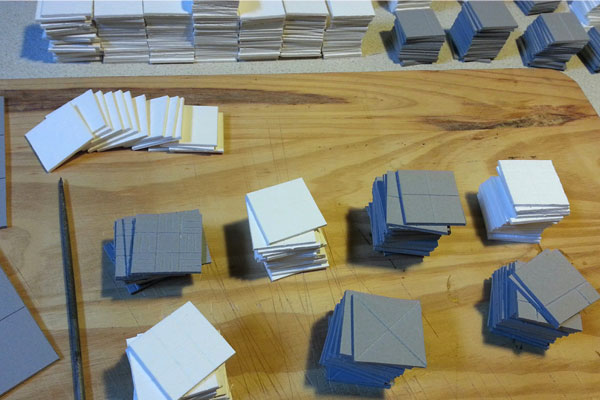
After a couple days of cutting tiles and using a metal file to score the different patterns and floor designs into the tiles, I found myself with hundreds of these things, waiting for a board to be put on.
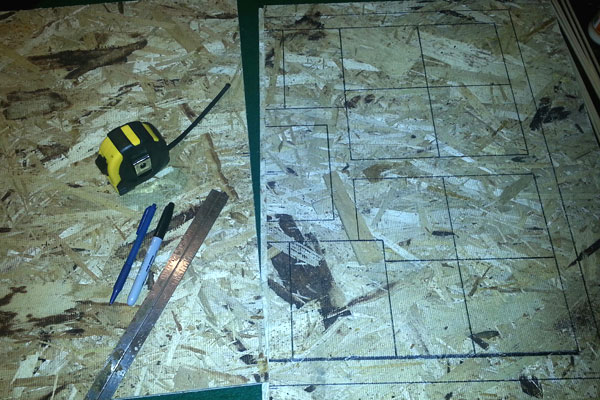
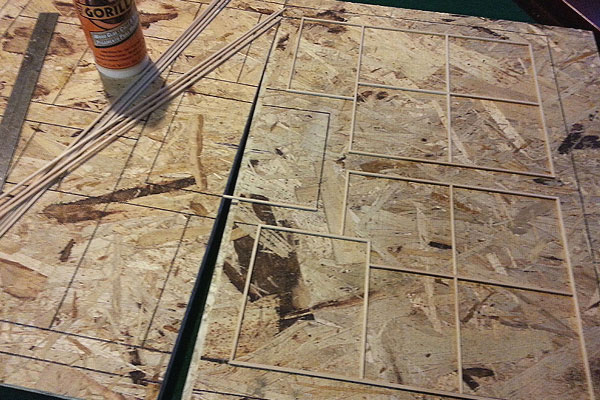
For the board itself, I found a couple pieces of 2' x 2' particle board used for the base of cement flooring at my local home building centre. They were only $7 a piece, and they have a tongue and groove connection, as well as a bottom covered with a piece of thin plastic with raised "feet", so they won't slide around on a table, and they're slightly raised and easy to pick up. After cutting off about 6 or 7 inches on each board with a band saw, I began measuring and marking the floor plans for my board. The floor plan based on the 1" square tiles, and an 1/8" gap between tiles.
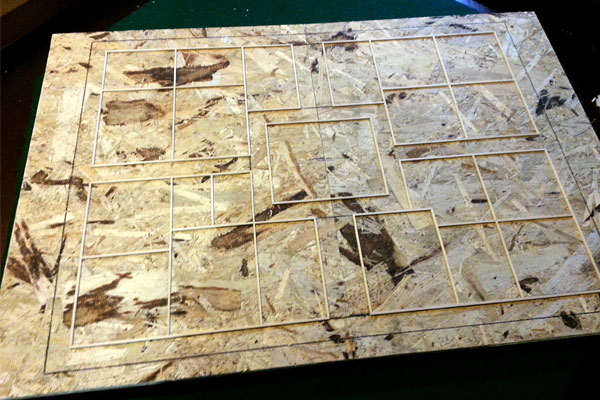
Next, I headed over to my local craft supply store and grabbed some 1/8" x 1/8" square basswood dowels, each 2 feet long. They are $1.29 each, and I ended up needing 12 of them to complete all the "walls" on the board. I cut them to size for the walls and used wood glue to secure them.
After finishing one side, I lined up and connected the two pieces (did not glue the two halves together as I like being able to seperate them for easier transport and storage) and finished placing the walls.
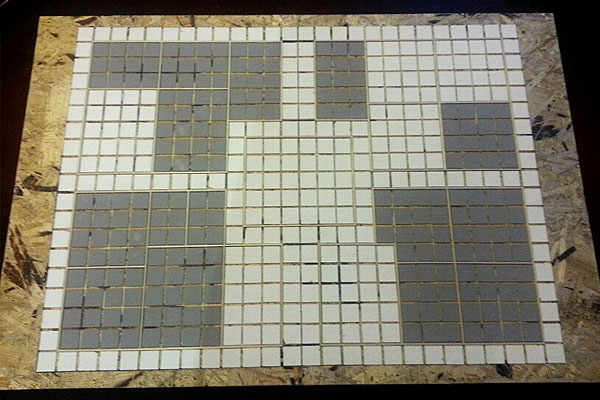
Once the "walls" were all in place, I began placing all the tiles for the rooms, using wood glue to attach them to the board, and a metal file to help position them.
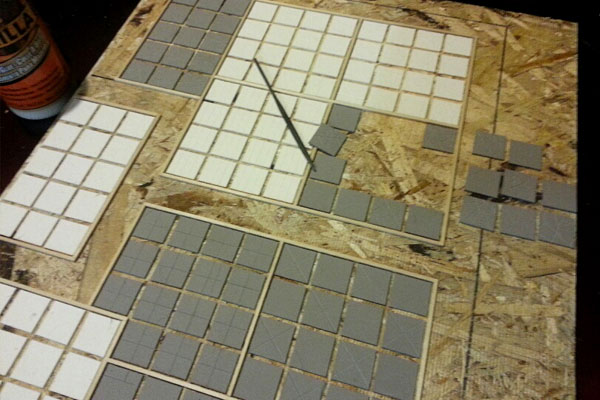
Again, I was not too concerned with them being exactly lined up as I am going for the imperfect feel of a man-made (or monster-made) dungeon. Again, I used a metal file and an Xacto knife to mark up several tiles to give a worn, cracked, and/or broken look to some.
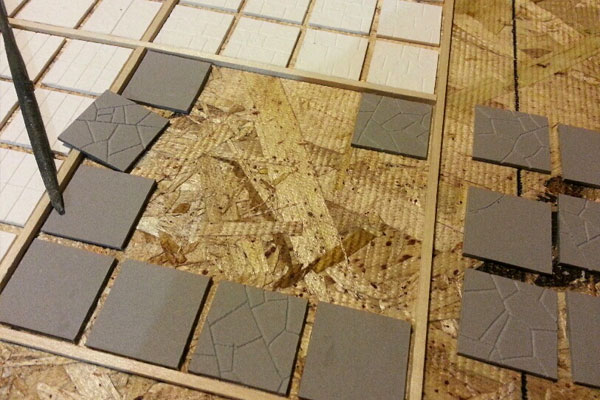
Corridors were done in the same way as the rooms, and I am very glad to be done gluing tiles to the board!
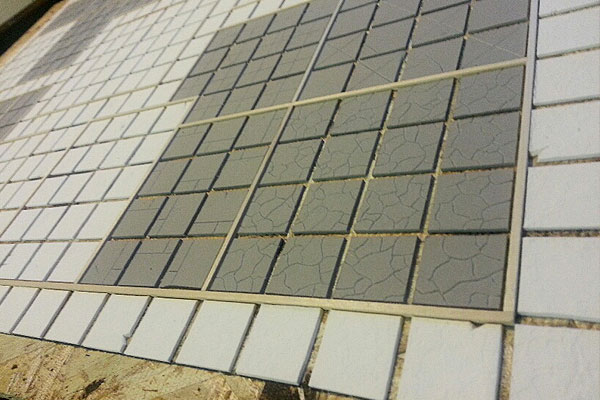
Close-up angle.
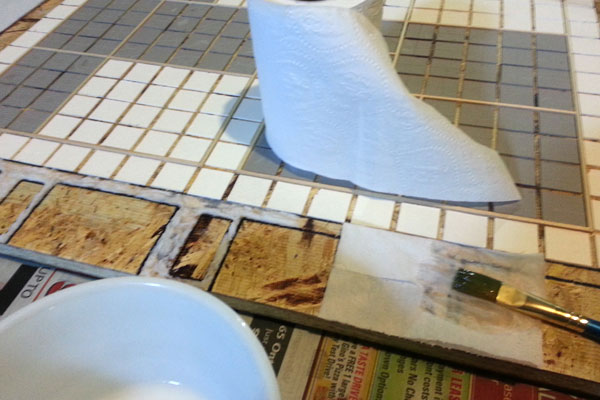
Using an old Art Attack technique, (if you don't know Art Attack, it was an arts and crafts tv show for kids in the 90's), I grabbed some toilet paper (or loo roll), and slopped it on to the edges of the board, using a mix of white school glue and water. Kind of like paper mâché, it hardens after it dries, and leaves a rough, rocky texture that can be painted to look like gnarled stone. I used the technique all around the edges of the board, leaving flat spaces for piles of cards, as well as smaller title spaces where I plan to put title plates (made of cardboard painted to look like stone) for the piles.
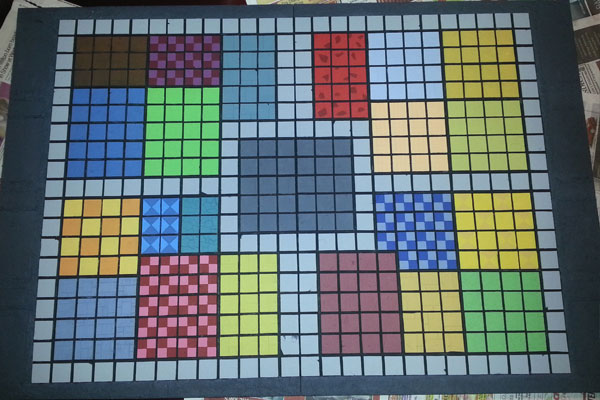
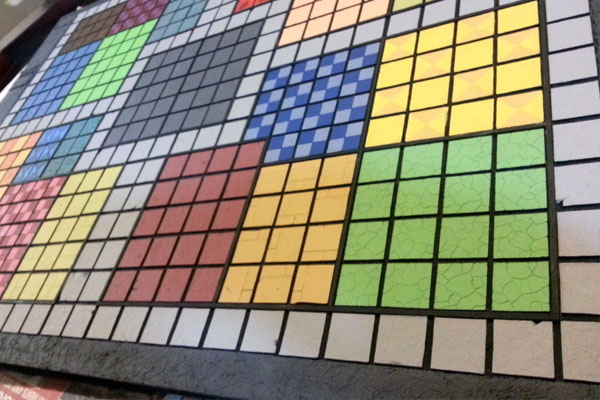
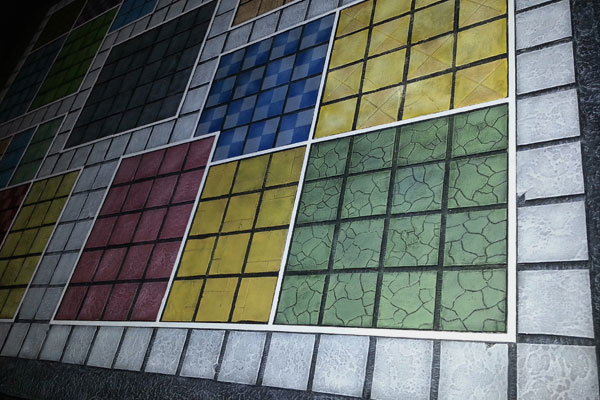
So after that all dried, I spray and hand painted the board black, and began painting the individual rooms in solid colors. Basic Acrylic paint, very cheap at any craft store.

Many days later, I was finally done the base painting. I used a flat Slate Gray for the corridors.
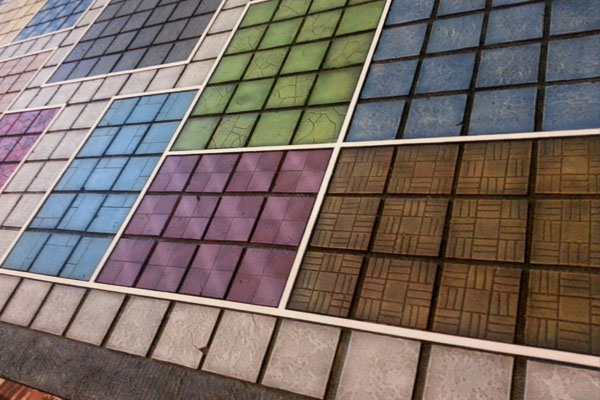
Close-up angle.
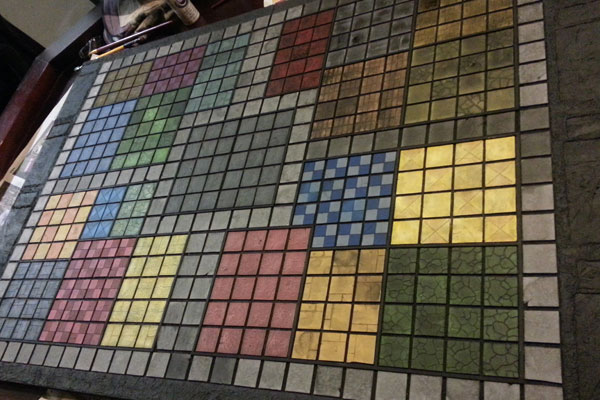
Here's where it gets really fun! The board really started to look dark and dingy (like a dungeon!) after I washed most of the rooms and corridors with watered down black paint. I mixed the paint and water no more than 50% paint, probably closer to 40:60 paint to water, and just applied it like an ink or wash to almost the whole board. Only one room didn't get the wash, I believe.
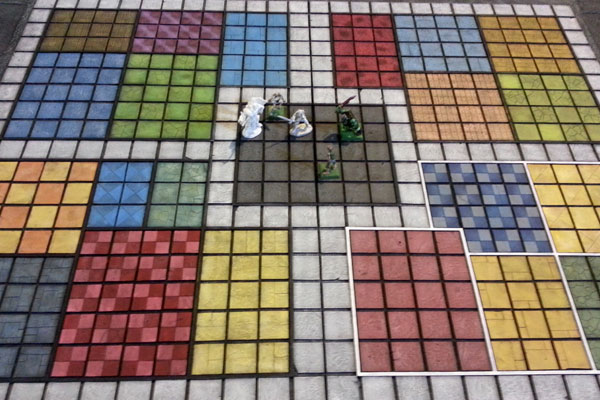
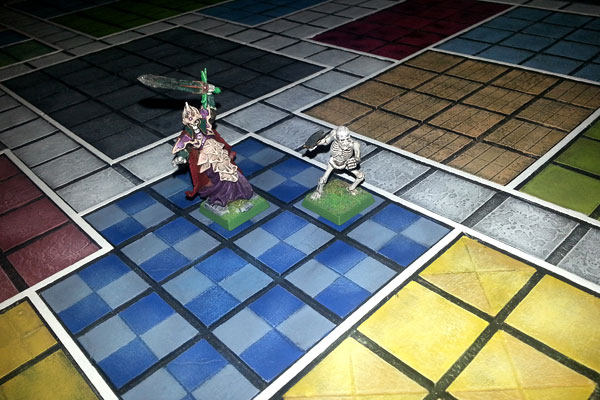
And now witness the magic of dry-brushing!! My absolute favourite painting technique, and grossly overused by me from the time I started painting miniatures and scenery. It worked pretty well on the board, though, and I'm very pleased with the results. There are some Reaper minis and a couple Warhammer Fantasy guys on there to show the scale. At this point, I had painted the "walls" of one quadrant white.
The finished board! It took lots of time, but I'm extremely happy with how it turned out. I can't believe how closely it resembles the vision I had in my head when I started.
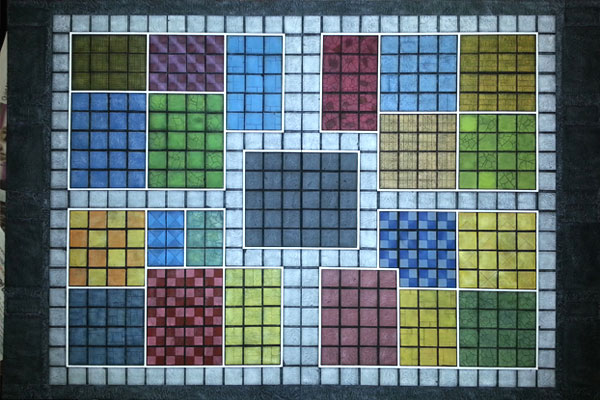
A couple close-ups:
One last pic with a Reaper mini and a WHFB Skeleton from my collection. I'll probably re-base these guys and use them for the game. I think the Reaper mini would make a pretty intimidating Witch Lord!
|
|
|
|
 |
HeroQuest Homebrew: Showdown 35. Design by David Fenner.
| Milton Bradley
Free web hosting provided by 000webhost.com
|
|